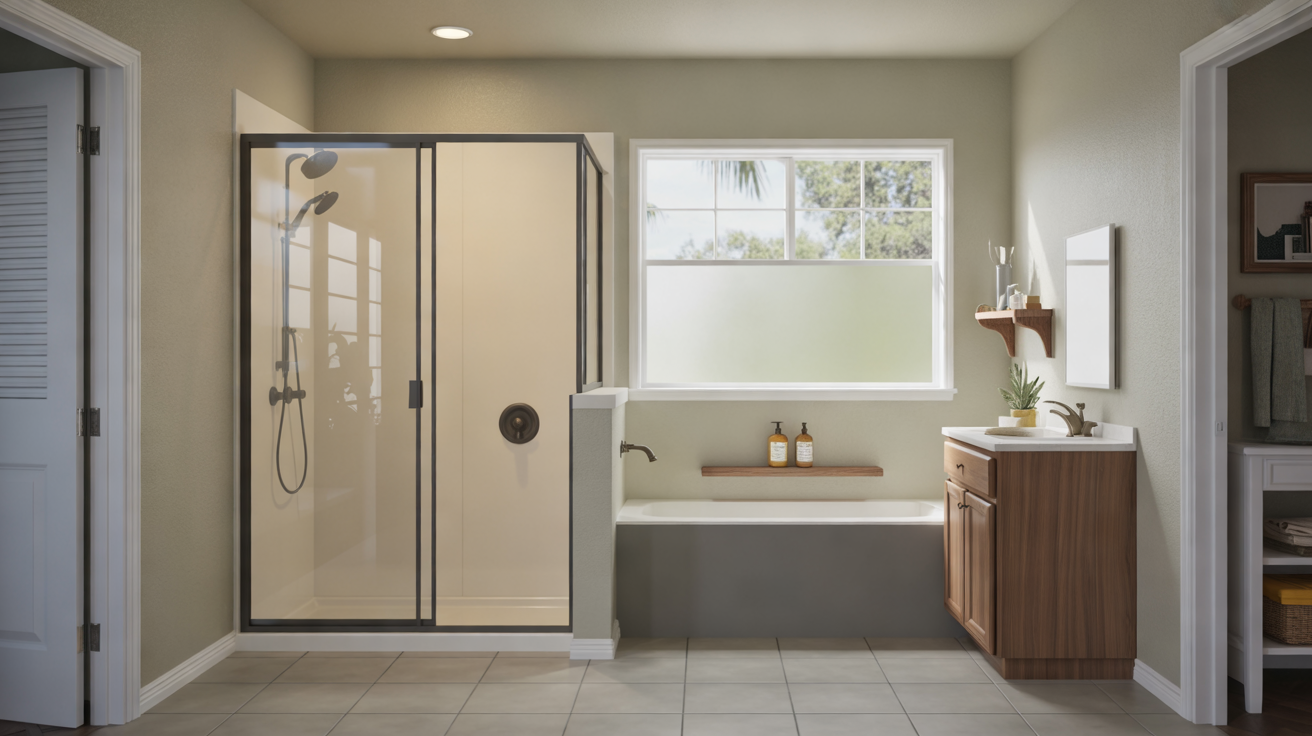
Why Maintaining Your New Shower Matters
Your new shower is a big upgrade to your Cape Coral home, and a little ongoing care will keep it looking fresh, safe, and leak‑free for years. Regular maintenance isn’t complicated, but doing the right tasks on the right schedule helps you avoid mildew, staining, and premature wear—especially in Florida’s warm, humid climate.
This guide walks through simple routines, recommended products, and what to watch for after a shower replacement so you can protect your investment and enjoy it every day.
The First Weeks After Installation
The first few weeks are important for letting caulk and materials fully cure. Follow any written instructions your installer left, and keep these general tips in mind:
- Respect curing times: Many sealants need 24–48 hours before heavy use. Avoid long, steamy showers until that window has passed.
- Inspect seals and corners: After the first few uses, look along edges, joints, and around fixtures for any gaps, bubbles, or areas where water might collect.
- Ventilate generously: Run your bath fan during and after showers and leave the door slightly open so humidity can escape.
- Use gentle cleaners only: Skip harsh chemicals or abrasive pads at first; they can damage new surfaces and finishes.
If you previously had water or mold issues addressed before replacement, it’s especially important to keep everything dry and well-ventilated so those problems don’t return.
Daily and Weekly Cleaning Routines
A consistent routine is the easiest way to keep your shower looking new. Most of the work comes down to preventing soap scum and hard-water buildup.
Quick Daily Habits (1–2 Minutes)
- Rinse the walls and floor: After each shower, briefly spray down surfaces to remove leftover soap and shampoo.
- Use a squeegee: Run a squeegee over the walls, glass doors, and built-in shelves or niches to limit water spots and film.
- Dry problem areas: Wipe corners, ledges, and around the shower door track where water tends to sit.
- Vent the room: Run the fan for at least 15–20 minutes after showering or crack a window if available.
Weekly Cleaning Checklist
Once a week, give your shower a more thorough clean. Choose products that match your materials (see the material-specific tips below).
- Spray a non-abrasive bathroom cleaner on the walls, floor, and fixtures.
- Let it sit for the recommended dwell time so it can dissolve soap scum.
- Gently scrub with a soft sponge or microfiber cloth—avoid scouring pads.
- Rinse thoroughly from top to bottom.
- Wipe dry or squeegee to reduce spotting and streaks.
If you have shower niches or shelves, clean them at the same time. For organizing ideas and long-term storage solutions, you can explore Best Shower Storage and Niche Ideas.
Cleaning by Material Type
Different shower systems and surfaces respond better to certain cleaning methods. Proper care helps you get the full life out of your new installation.
Acrylic and Fiberglass Walls
- Use mild, non-abrasive cleaners labeled safe for acrylic or fiberglass.
- Avoid powders, scouring pads, or anything that feels gritty.
- Skip strong solvents like acetone or paint thinner; they can damage the surface.
- For tough spots, let a gentle cleaner sit longer instead of scrubbing harder.
Tile and Grout
- Use a tile cleaner or a mild solution designed for grout and ceramic/porcelain.
- Scrub grout with a soft nylon brush—not metal—to avoid damage.
- Rinse thoroughly to remove residue from cleaners that can dull the tile.
- Consider periodic grout sealing if recommended by your installer.
If you’re comparing tile versus acrylic for a future project or second bathroom, see Tile vs Acrylic Shower Walls Comparison for more detail.
Glass Shower Doors
- Use a glass cleaner or a vinegar-and-water mix if compatible with your hardware finishes.
- Avoid abrasive pads that can scratch the glass or metal frame.
- Squeegee after each use to limit mineral deposits from Cape Coral’s water.
- Clean tracks and hinges regularly so they don’t trap moisture and debris.
Shower Floors and Pans
Whether you have a tiled floor or an acrylic/solid-surface pan, the goal is to keep the surface clean and non-slippery:
- Use cleaners that match the floor material type.
- Avoid waxes or polishes that can make the floor slick.
- Regularly clean around the drain to keep water flowing properly.
To understand more about pan materials and long-term care, you can review Shower Pan Replacement: Materials and Costs.
Mold, Mildew, and Moisture Control
Florida humidity can encourage mildew, even in a brand-new shower. Preventing moisture buildup is your best defense.
- Improve ventilation: Make sure your fan is sized correctly and running long enough after each shower.
- Keep surfaces dry: Squeegee and wipe down frequently wet spots.
- Inspect caulk and grout: Look for early signs of discoloration along seams and in corners.
- Clean regularly: Don’t wait until mildew is visible to clean; stick to your weekly routine.
If your home had water damage or mold issues before your remodel, staying proactive is especially important. For background on why pre-repair work matters, see Water-Damage and Mold Repair Before Shower Replacement.
Protecting Fixtures, Finishes, and Accessories
Your showerhead, valves, grab bars, and shelving are part of what makes your new shower comfortable and safe. Proper care keeps them looking and working like new.
- Clean metal finishes gently: Use a soft cloth and a cleaner that’s safe for your specific finish (chrome, brushed nickel, etc.).
- Remove mineral buildup: If your showerhead starts to spray unevenly, soak it in a descaling solution recommended for plumbing fixtures.
- Check grab bars and hardware: Periodically make sure fasteners are tight and free from rust or corrosion.
- Protect seals around accessories: Inspect around niches, benches, and corner shelves for cracks in caulk or grout.
If you’re considering upgrading your fixtures further, you can explore options in Upgrading Shower Fixtures During Replacement.
Eco-Friendly Cleaning Tips
If you prefer a greener approach, there are ways to maintain your shower with fewer harsh chemicals:
- Choose cleaners labeled biodegradable or plant-based and safe for your shower materials.
- Use concentrated products and reusable bottles to reduce plastic waste.
- Ventilate well when using any cleaner, even eco-friendly ones.
When planning future upgrades, you can also look into sustainable material choices in Eco-Friendly Shower Replacement Materials.
Signs Your Shower Needs Attention
Regular checks help you catch small issues before they turn into repairs:
- Peeling or cracked caulk: Reseal as soon as you notice gaps to prevent water intrusion.
- Loose tiles or panels: Movement or hollow sounds can signal adhesive or backing issues.
- Persistent damp spots: Look outside the shower for staining on adjacent walls or ceilings.
- Slow draining water: Clear hair and debris from the drain and call a plumber if it persists.
- Recurring mildew smells: Even if you can’t see mold, a musty odor can mean hidden moisture.
If you’re unsure whether an issue is minor or needs professional help, a local shower remodeling contractor in Cape Coral can inspect and advise on next steps.
Frequently Asked Questions About Shower Maintenance
How often should I deep-clean my new shower?
With daily rinsing and weekly light cleaning, most homeowners only need a deeper scrub every 1–2 months. If multiple people use the same shower daily, you may want to clean more often.
Can I use bleach in my new shower?
Occasional use of diluted bleach may be acceptable on some surfaces, but it can damage certain finishes, grout sealers, and acrylic over time. Always check your product’s label and any care instructions provided by your installer, and test a small area first.
What’s the best way to prevent hard-water spots?
Rinsing and squeegeeing after each use is the simplest way. You can also use products designed to repel water on glass doors (if compatible) and keep fixtures wiped dry.
Do I need to reseal grout or caulk?
Most showers will eventually need fresh caulk in seams and corners. Grout may need resealing periodically, depending on the type and exposure. Inspect your shower at least twice a year and address any cracks or gaps promptly.
Where can I learn more about shower replacement and care?
For more information about shower projects and related topics, you can browse the Blog or visit resources like Shower Replacement FAQs and Common Shower Replacement Mistakes to Avoid. These pages can help you plan ahead if you’re considering another bathroom update in your Cape Coral home.