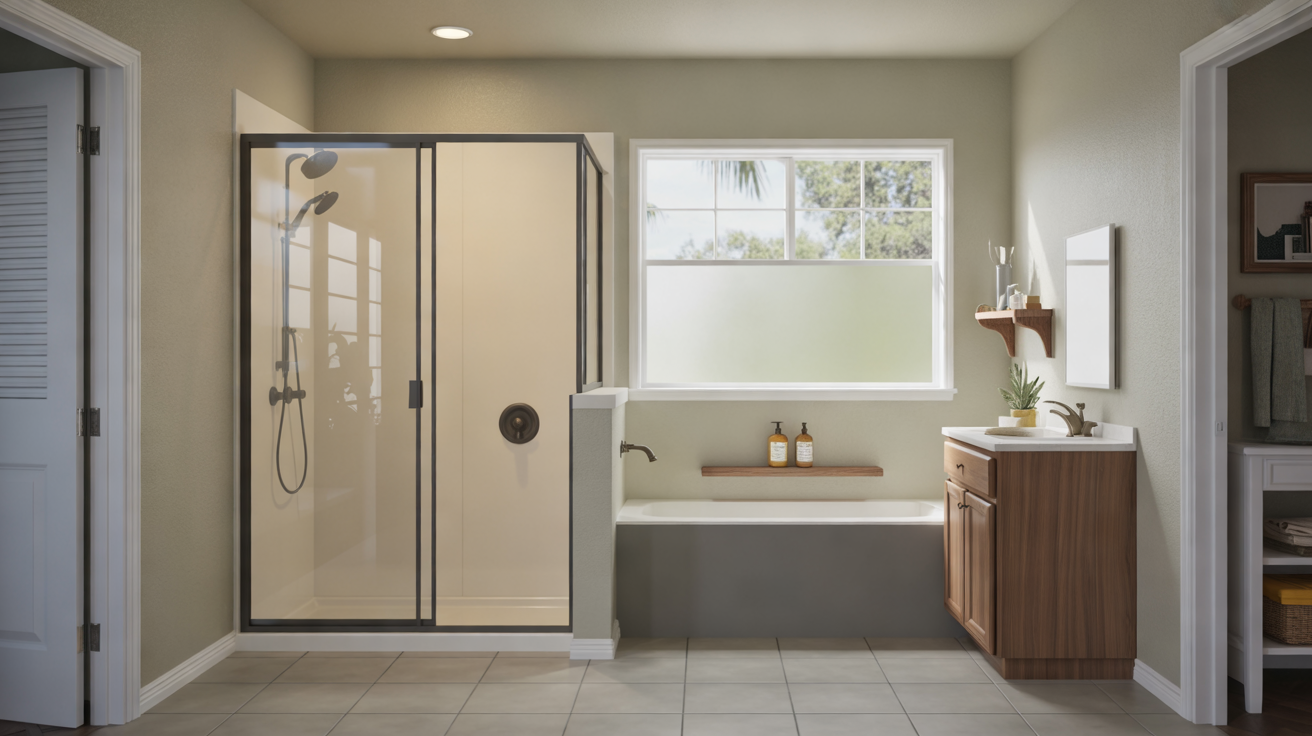
Before you install a new shower, it is critical to find and repair any water damage or mold hiding behind the old walls, pan, or flooring. Replacing the surround or base without fixing underlying problems can trap moisture, allow mold to spread, and shorten the life of your new shower.
This page explains how water damage and mold develop around showers, what should be inspected and repaired first, and how a careful approach helps protect your Cape Coral home in the long term.
Why Water-Damage and Mold Repair Comes First
In a humid climate like Cape Coral, FL, bathrooms are especially vulnerable to moisture issues. Small leaks or gaps around your old shower can gradually damage framing, subflooring, and drywall. If you cover these problems with new materials, you risk:
- Hidden structural damage getting worse under the new shower
- Mold growth that affects indoor air quality
- Premature failure of the new shower system
- Costly tear-outs and repeat work later
That is why thorough inspection and repair are essential steps in any responsible shower replacement project, whether it is a one-day makeover or a more extensive remodel. For more context on the replacement process, you can also review Preparing Your Bathroom for Shower Replacement and Common Shower Replacement Mistakes to Avoid.
Common Signs of Water Damage Around a Shower
Not all damage is visible, but some symptoms often appear before demolition begins. Look for:
- Soft, spongy, or uneven flooring near the shower
- Cracked, missing, or stained grout and caulk lines
- Discoloration, bubbling, or peeling paint on nearby walls or ceilings
- Persistent musty or damp odors in the bathroom
- Loose, hollow-sounding tiles or shifting shower pans
- Visible mold spots on caulk, grout, or adjacent drywall
Even if you do not see these signs, a proper shower replacement should still include inspection of the framing, subfloor, and plumbing once the old unit is removed.
Where Damage and Mold Typically Hide
During demolition, a professional will check these high-risk areas:
- Subfloor under the shower pan – Often damaged if the pan or drain has leaked.
- Wall studs behind the shower walls – Can show dark stains, softness, or mold where water has seeped through grout or seams.
- Bottom of adjacent walls – Water can wick into nearby drywall outside the shower footprint.
- Ceiling below the bathroom (in multi-story homes) – Stains or sagging may appear under the shower area.
- Plumbing connections – Slow leaks at valves, fittings, or the drain can be easy to miss until the area is opened.
Step-by-Step: Repairing Water Damage Before Replacement
The exact process depends on how extensive the damage is, but most repairs follow a general sequence.
1. Careful Demolition and Assessment
The old shower enclosure, pan, and any surrounding damaged materials are removed. Once framing and subfloor are exposed, they are inspected for:
- Rot, softness, or crumbling wood
- Rust on fasteners or metal components
- Dark staining, odor, or visible mold
2. Drying the Area
Before repairs, the structure should be dried to reduce the risk of continued mold growth. Depending on conditions, this may involve:
- Ventilating with fans and open windows
- Dehumidifiers to lower moisture levels
- Removing any insulation that has become wet
3. Replacing Damaged Subfloor and Framing
Any material that has lost its strength needs to be replaced, not just covered up. Common repairs include:
- Cutting out sections of rotted subfloor and installing new, properly supported panels
- Replacing or sistering (reinforcing) weakened studs and joists
- Ensuring the new subfloor is flat, solid, and ready for a shower pan or base
4. Upgrading Moisture Protection
When rebuilding, it is wise to improve water-resistance compared to the original installation. This may include:
- Using moisture-resistant backer board instead of standard drywall in the shower area
- Adding modern waterproofing membranes behind tile or around seams
- Ensuring proper sloping toward the drain for tiled shower floors or pans
The choice of wall system also matters. For a comparison of common materials, see Tile vs Acrylic Shower Walls Comparison and Types of Shower Replacement Systems.
Dealing with Mold Before Installing a New Shower
Mold is a sign of ongoing moisture and must be handled thoroughly. In many cases, small surface areas can be removed and replaced as part of regular demolition. However, more widespread growth may call for specialized remediation.
Identifying Mold Concerns
During tear-out, your contractor should watch for:
- Black, green, or white fuzzy spots on framing or sheathing
- Strong musty odors when walls or flooring are opened
- Large discolored areas extending beyond the immediate shower zone
Repair vs. Professional Remediation
Minor mold issues are often resolved by:
- Removing affected drywall and trim
- Discarding heavily contaminated insulation
- Cleaning limited surface mold on framing with appropriate products
Extensive growth, especially if it extends into other rooms or cavities, may require a licensed mold remediation specialist. The goal is to remove contaminated materials, eliminate the moisture source, and verify that the area is safe before closing it back up with new finishes.
Preventing Future Water Damage With Your New Shower
Once repairs are complete and the new shower is installed, a few design and maintenance choices can dramatically lower the chance of future problems.
Smart Design and Material Choices
- Quality waterproofing behind tile or panels, not just surface caulk
- Properly installed shower pan with correct slope and reliable drain connections
- Durable wall systems that match your maintenance preferences and budget
- Non-slip but easy-to-clean flooring in the shower zone and surrounding area
For more on flooring and safety, visit Non-Slip Flooring Options for Shower Areas. If you are considering a low-threshold or walk-in design, also see Walk-In Shower Replacement Options and Low-Threshold and Barrier-Free Shower Options.
Ongoing Maintenance
After your shower replacement, regular care can help catch small issues early:
- Inspect caulk and grout periodically for cracks or gaps
- Keep the bathroom well ventilated during and after showers
- Wipe down walls and glass to reduce moisture and soap buildup
- Address any slow drains or plumbing drips quickly
For a simple upkeep plan, see How to Maintain Your New Shower.
Coordinating Repairs With Your Shower Replacement Plan
Because water-damage and mold repairs directly affect how and when your new shower can be installed, it helps to plan the entire project as a sequence rather than separate tasks.
- Discuss potential moisture issues during your initial consultation.
- Allow time in the schedule for demolition, inspection, and drying.
- Update the design or materials if extensive repairs change the layout.
- Confirm that all damaged areas are fully repaired before final installation.
If you are comparing a simple replacement with a more complete remodel, Shower Replacement vs Full Bathroom Remodel can help you weigh which approach makes sense for your situation in Cape Coral.
Frequently Asked Questions
Can I install a new shower over existing mold if it is sealed?
No. Simply sealing over mold does not remove it or stop growth if moisture remains. The affected materials should be removed or properly treated, and the source of moisture must be corrected before the new shower goes in.
Will a one-day shower replacement address water damage?
It depends on the contractor and the condition of your bathroom. One-day installations may work well when the underlying structure is sound. If demolition reveals water damage or mold, more time and repair work may be required. Learn more about timelines at One-Day Shower Replacement: What to Expect and How Long Does a Shower Replacement Take?.
Is water-damage repair always necessary before replacement?
If inspection shows no damage or mold, you can proceed directly to replacement. However, skipping the inspection step and covering the old area without checking is risky, especially in older bathrooms or where leaks have been suspected.
How does repair work affect shower replacement cost?
Repairing damaged subfloors, framing, or drywall adds to the total project cost but protects your investment in the new shower. For an overview of other cost factors, visit the Shower Replacement Cost Guide and Financing Options for Shower Replacement.
How do I choose someone to handle both repairs and replacement?
Look for a shower replacement contractor familiar with structural and moisture issues, not just cosmetics. If you are comparing companies in Cape Coral, Shower Replacement Near Me: How to Choose a Contractor outlines helpful questions to ask.
Learn More About Shower Replacement in Cape Coral
If you are planning a new shower and want to understand your options, the Blog and guides such as Custom Shower Replacement Design Ideas and DIY vs Professional Shower Replacement provide additional details on design, materials, and timelines. You can also learn more about the company behind this site on the About page.