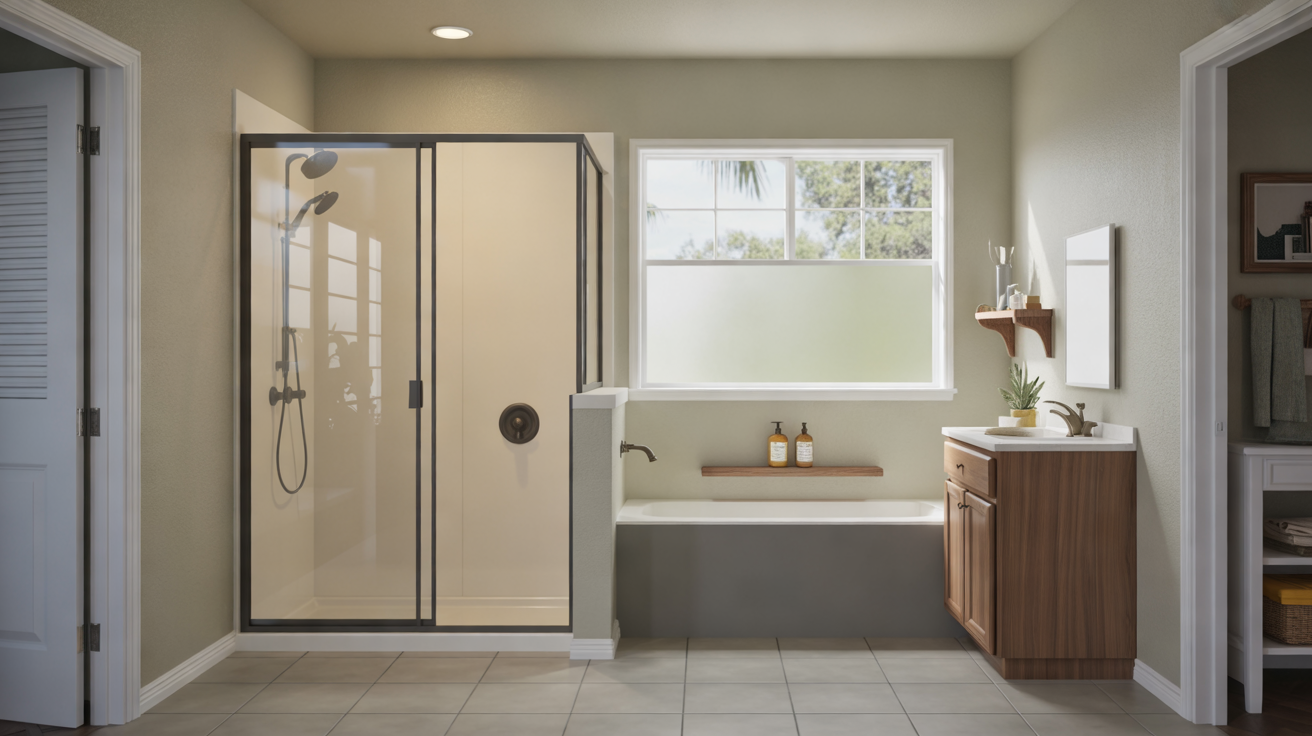
Preparing your bathroom before a shower replacement helps the project go faster, keeps your home cleaner, and protects your belongings. A little planning also gives your installer clear access to plumbing and walls so they can do their best work.
Below is a step‑by‑step guide tailored for homeowners in Cape Coral, FL, whether you are doing a full shower replacement, converting a tub to a shower, or updating to a walk‑in unit.
1. Confirm the Plan and Timeline
Start by getting clarity on what will happen and when. This avoids surprises once demolition begins.
Review the scope of work
- Type of new shower (walk-in, low-threshold, tub-to-shower conversion, etc.).
- Wall materials (see tile vs acrylic shower walls for comparisons).
- Shower base or pan material and drain location.
- Fixtures to be upgraded, such as showerheads, valves, grab bars, and niches. For more ideas, visit Upgrading Shower Fixtures During Replacement.
Understand the schedule
Ask your installer how long the project will take, including demolition, installation, and any curing or drying time. You can also review How Long Does a Shower Replacement Take? for typical timeframes, including one-day options.
2. Address Water Damage or Mold First
If your existing shower has leaks, soft spots, or musty smells, deal with these before installation day. Hidden moisture can lead to mold, wood rot, and future repairs.
Check for warning signs
- Discolored or crumbling grout and caulk around the shower.
- Soft or spongy flooring near the shower threshold.
- Peeling paint, warped baseboards, or stains on the ceiling below.
- Persistent musty or damp odors.
For a deeper look at what to do if you suspect hidden damage, see Water-Damage and Mold Repair Before Shower Replacement.
3. Clear and Protect the Bathroom
A clean, clutter-free bathroom makes it easier and safer for installers to work and helps protect your belongings from dust and debris.
Remove personal items
- Take out all toiletries, shower caddies, and storage baskets.
- Remove towels, floor mats, robes, and laundry baskets.
- Empty medicine cabinets, shelves, and any freestanding storage that might be in the way.
- Take down wall art, decor, and hanging mirrors that could be knocked loose.
Protect nearby surfaces
- Move small furniture, hampers, or stools out of the room.
- Cover remaining surfaces with old sheets or plastic if the installer is not supplying protective coverings.
- Consider a rug or mat outside the bathroom door to reduce dust tracking.
4. Plan for Limited Bathroom Access
Most shower replacements limit the use of at least one bathroom for part of a day or longer. Planning ahead helps your household stay comfortable.
Set up an alternative shower plan
- If you have another full bathroom, make sure it is stocked with toiletries, towels, and basic supplies.
- If you only have one shower, ask your installer when the water will be shut off and when you can safely use the new shower.
- Coordinate with family or roommates so everyone knows the schedule.
For projects that need to be done quickly, look at One-Day Shower Replacement: What to Expect.
5. Make the Work Area Easy to Reach
Clear access from your front door to the bathroom helps protect your floors and keeps installers safe as they carry tools and materials.
Prepare the route
- Move small furniture, plants, or obstacles from hallways and entryways.
- Secure or remove loose rugs and runners that could cause trips.
- Ensure pets are safely contained in another room or area.
Protect your flooring
- Ask if the company provides floor protection such as drop cloths or runners.
- If not, lay down temporary coverings in high-traffic paths to and from the bathroom.
6. Confirm Plumbing, Electrical, and Ventilation Details
A few checks before installation day can prevent delays, especially in older Cape Coral homes or condos.
Plumbing considerations
- Know where your main water shutoff is located.
- Let your installer know about any low water pressure, slow drains, or previous leaks.
- If you are relocating fixtures, confirm any extra work needed ahead of time.
Electrical and lighting
- Tell the installer if you plan to add new lighting, a fan, or a heated towel bar.
- Clear access to any GFCI outlets in the bathroom.
Ventilation
Good ventilation reduces moisture buildup and mold risk. If your fan is old or ineffective, this can be a good time to upgrade while other work is being done.
7. Final Design Decisions Before Work Starts
Making design choices in advance keeps your project moving smoothly and avoids last-minute changes.
Storage and organization
Think about where you will keep shampoos, soaps, and razors. Built-in niches or shelves can keep your new shower neat and easy to clean. For inspiration, visit Best Shower Storage and Niche Ideas.
Accessibility and safety
If you are planning to age in place or have mobility concerns, consider features like grab bars, seating, and low or barrier-free thresholds. Learn more in Low-Threshold and Barrier-Free Shower Options and Senior-Friendly and Accessible Shower Designs.
Materials and finishes
Confirm your choices for wall surfaces, fixtures, and shower doors or curtains. You can compare options in:
8. After Installation: First Steps with Your New Shower
Once your new shower is in place, a few simple steps will protect your investment.
- Follow your installer’s instructions about when it is safe to use the shower, especially if caulk or grout needs curing time.
- Check for any small leaks around the door, fixtures, or drain as you start using it.
- Learn the recommended cleaning routine for your specific materials. For practical tips, see How to Maintain Your New Shower.
Common Questions About Preparing for Shower Replacement
Do I need to be home during the entire installation?
Most homeowners stay home at least during the start and end of each workday. Someone should be available to provide access, answer questions, and review progress. Ask your installer what they prefer.
How clean does the bathroom need to be?
The space does not have to be spotless, but it should be cleared of personal items with unobstructed access to the shower, doorway, and nearby walls. This helps work go faster and reduces the risk of damage.
What if unexpected damage is found during demolition?
It is common to uncover hidden water damage or mold once old materials are removed. Your installer should explain the findings and discuss repair options and any cost or schedule changes. For more on this topic, read Common Shower Replacement Mistakes to Avoid and Water-Damage and Mold Repair Before Shower Replacement.
Where can I learn more before the project starts?
You can explore additional guides and planning resources on the Blog, including design ideas, costs, and system options for shower replacement in Cape Coral.